 Skip to content
 This is a complete guide to MPM printer parts in 2025.
If you’re looking to source high-quality MPM printer parts and enhance your SMT production efficiency, this guide is packed with actionable tips tailored to your needs.
Let’s dive in!

In this chapter, I will answer the question: “What is a Mpm printer?”
I will also explain why Mpm Printer Level 1 Spares remain crucial for ensuring optimal performance and efficiency in 2025.
Let’s get started.
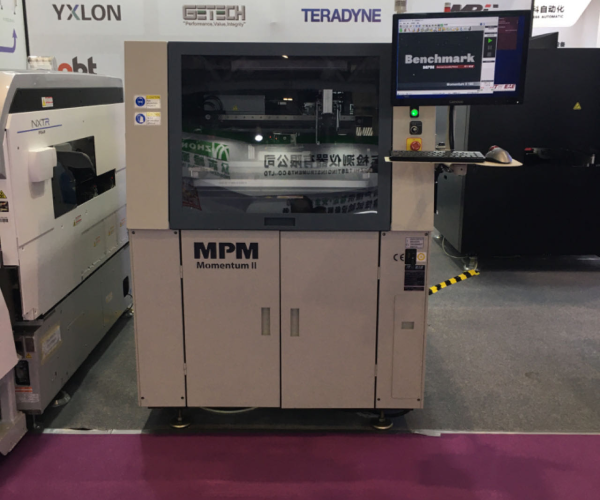
MPM printer is a high-precision screen printing machine primarily used in the electronics manufacturing industry to deposit solder paste on printed circuit boards (PCBs). The models include the UP2000 series, MPM Accuflex series, MPM Accela series, MPM 125 series, MPM Momentum series, MPM Momentum II series, and MPM Edison series.
MPM Printer Level 1 spares are crucial for maintaining optimal performance and minimizing downtime in electronics manufacturing. Here’s why they are so important:

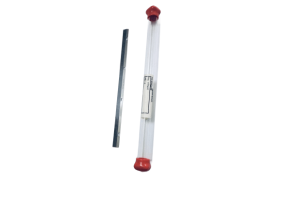
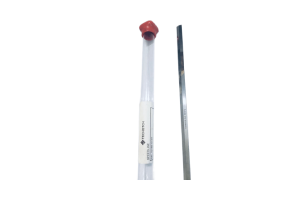
MPM Stencil Printer Level 1 spares are primarily wear items that require regular replacement as part of routine maintenance. By replacing these parts on schedule, manufacturers can ensure consistent print quality and prevent unexpected failures.
Having Level 1 spares readily available allows for quick replacements during planned maintenance, reducing the risk of unplanned downtime. This proactive approach helps maintain production efficiency and prevents costly interruptions in the manufacturing process.
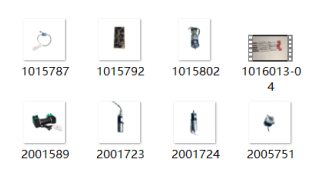
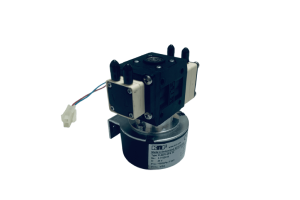
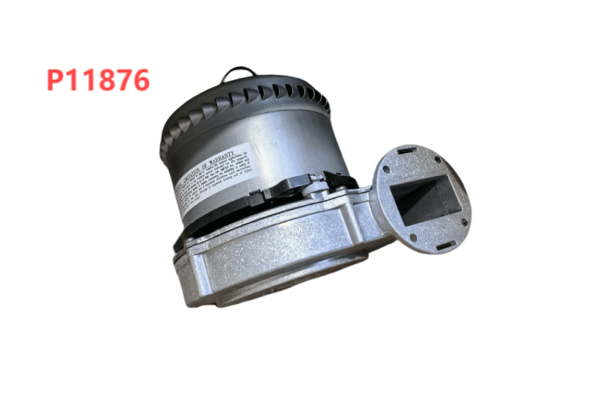
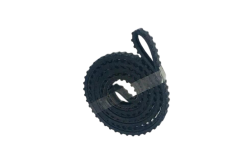
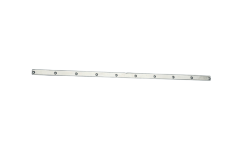
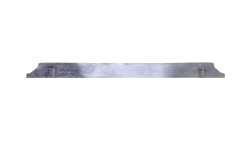
MPM Printer Level 1 Spares consist of essential wear parts and cost-effective critical components recommended for annual maintenance and routine replacements. These parts are vital for ensuring optimal printer performance and minimizing downtime. Level 1 spares typically include (1014500):
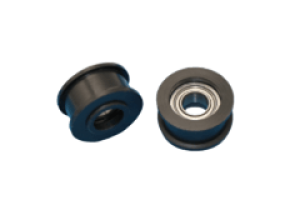
PULLEY IDLER ASSY
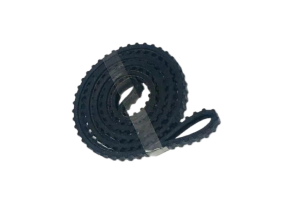
BELT TRANSPORT SINGLETRACK
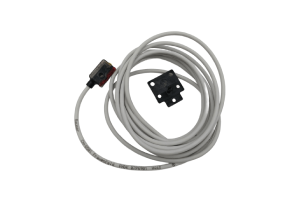
SENSOR X LIMIT CONVEYOR 2 METER ASSY
BULB LED LAMP
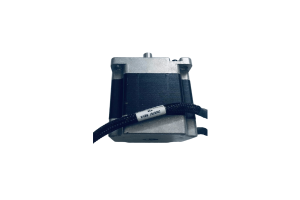
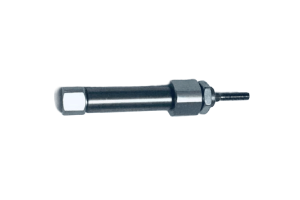
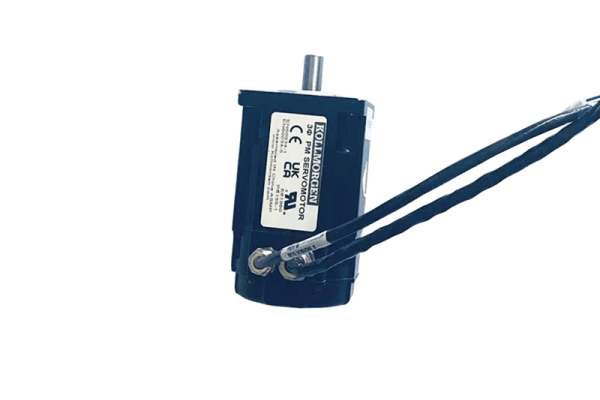
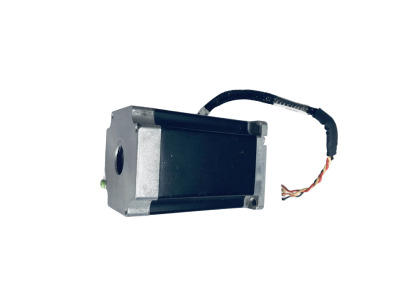
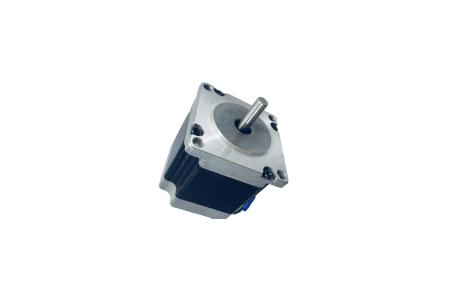
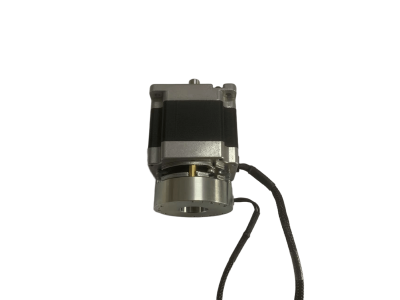
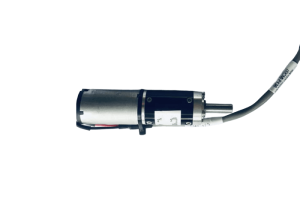
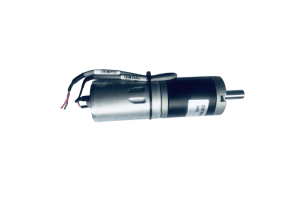
MOTOR STEPPER 186 OZ-IN 112 INCH FLEX W
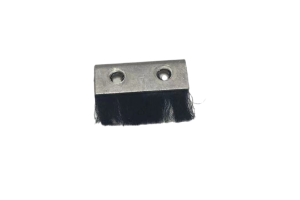
BRUSH ANTI-STATIC
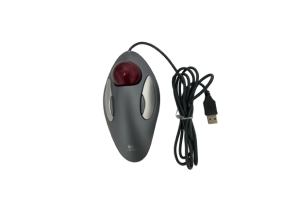
TRACKBALL AMBIDEXTROUS
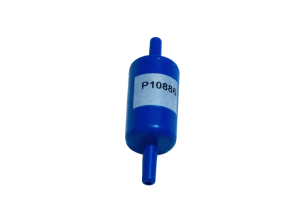
FILTER SOLVENT 74UM SS
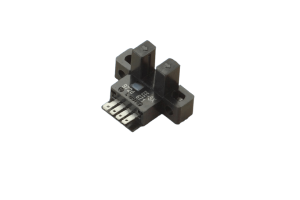
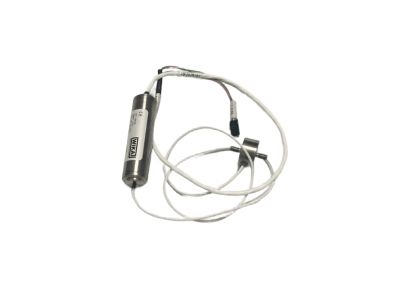
SENSOR PHOTOELECTRIC
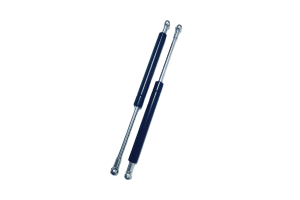
GAS SPRING HOOD (P10373,P60083, P60390,P7605,P60520)
FOIL BOARD CLAMP 200MM 20 DEGREE
FOIL BOARD CLAMP 24 DEG 3.5MM
FOIL BOARD CLAMP 24 DEG 2MM
Foil Board Clamp
CLAMP FOIL 20 DEGREE
If you need help identifying the specific part or parts required, please reach out to our Technical Support team. Make sure to provide your machine’s serial number (mandatory) and include a picture or detailed description of the part’s location within the machine when contacting us.
For information on spare parts pricing, please get in touch with our team.
Before we dive into the step-by-step strategies for sourcing MPM Printer Level 2 Spares, it’s important to understand what defines high-quality (or low-quality) spare parts.
This knowledge will help you focus on selecting spares that truly enhance your printer’s performance and reliability.
With that, here’s how to identify spare parts that are truly worth investing in:
Are the MPM Printer Level 2 Spares you’re considering reliable and high-quality? If so, they can have a SIGNIFICANT impact on your printer’s performance and efficiency.
In fact, after years of experience, I’ve found that the quality of Level 2 spares matters more than almost anything else.
That’s because high-quality spares ensure better performance, reduce downtime, and extend the lifespan of your equipment.
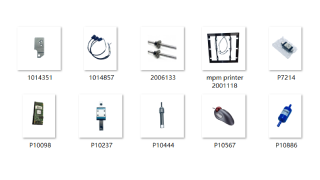
Level 2 spares for MPM printers include critical components that could cause machine downtime if they fail. These parts are more comprehensive than Level 1 wear items and are essential for maintaining optimal printer performance.
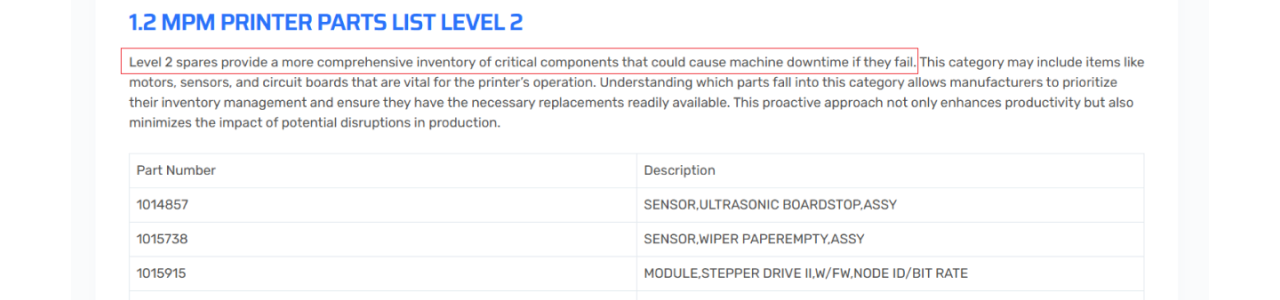
Some important Level 2 spare parts for MPM printers include:
SENSOR ULTRASONIC BOARDSTOP ASSY
SENSOR WIPER PAPEREMPTY ASSY

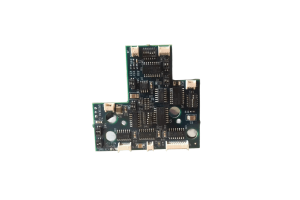
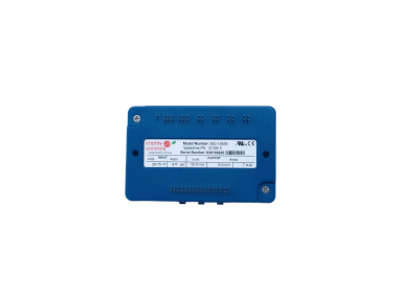
MODULE STEPPER DRIVE II W/FW NODE ID/BIT RATE
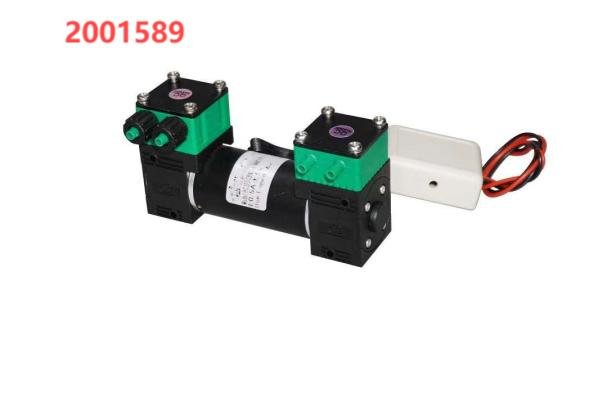
MOTOR SOLVENT PUMP DUALHEAD (2001589)
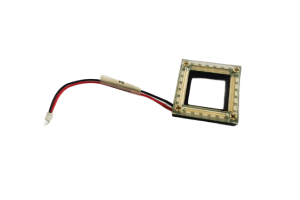
BOARD RING LIGHT HIGHOUTPUT 2550CD ASSY
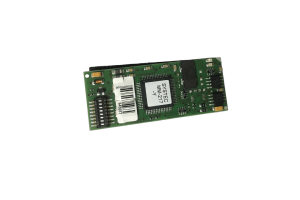
MODULE CANOPEN I/O CONFIGURABLE PCB
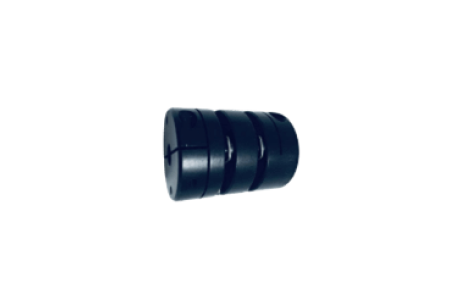
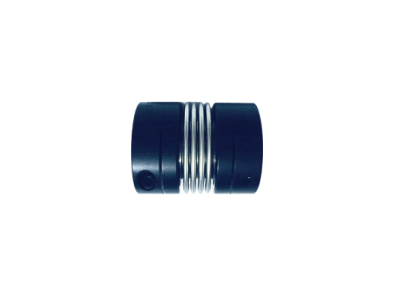
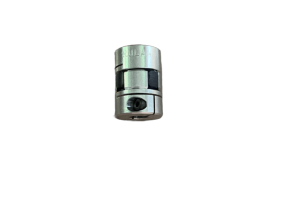
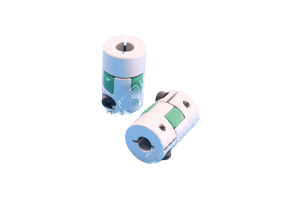
COUPLING DISC ALUMINUM
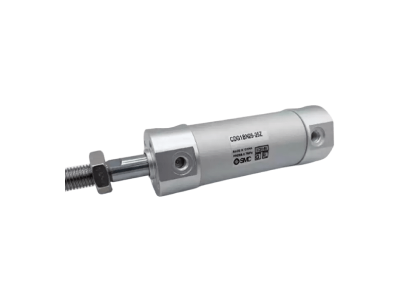
CYL NON ROTATE DBL ACT STROKE
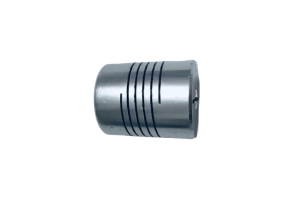
COUPLING THRU BORE
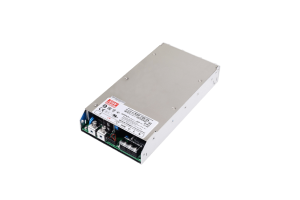
POWER SUPPLY FLEX ATX 250 W
Contact Authorized Distributors: Reach out to ITW EAE or their partners for genuine MPM spare parts.
Provide Detailed Information: Share your machine’s serial number and part details, including location or pictures.
Choose OEM Parts: Ensure compatibility and maintain performance with original manufacturer parts.
Explore Spare Part Kits: Consider kits like MOMII-100-L2-SPARE for critical Level 2 components.
Consult Documentation: Use your printer manual or ITW EAE support for specific part numbers.
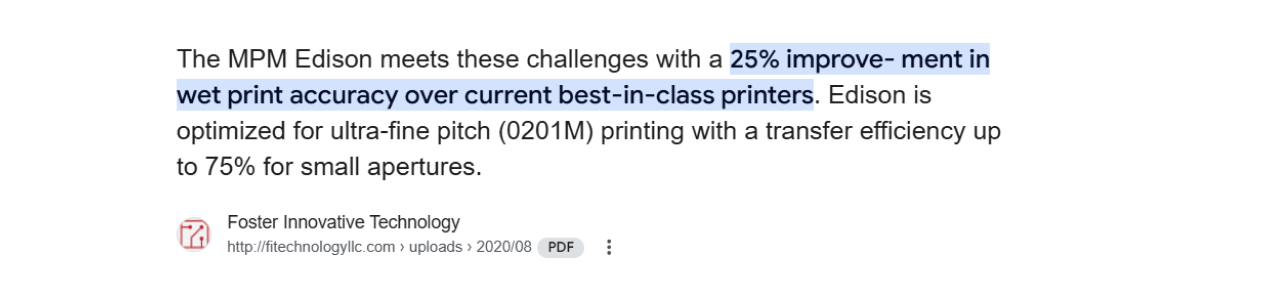
Proper management of Level 2 spares is crucial for maintaining the MPM printer’s high precision. For instance, the Momentum II printer boasts an impressive accuracy of ±12.5µm at >2 Cpk (6 sigma). This level of precision relies heavily on the proper functioning and timely replacement of critical Level 2 components.
By following these guidelines, you can ensure that you find and maintain a stock of high-quality Level 2 spares for your MPM printer, minimizing downtime and maintaining optimal performance.
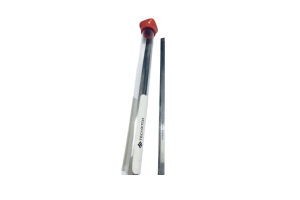
It’s no secret that MPM printer squeegees are the key to ensuring consistent and high-quality prints.
But here’s the deal:
Simply purchasing squeegees isn’t enough to guarantee optimal performance.
As it turns out, choosing the right type of MPM printer squeegees works best for maintaining printing accuracy and efficiency.
And here are the 4 factors that tend to contribute the most to selecting the right MPM printer squeegees:
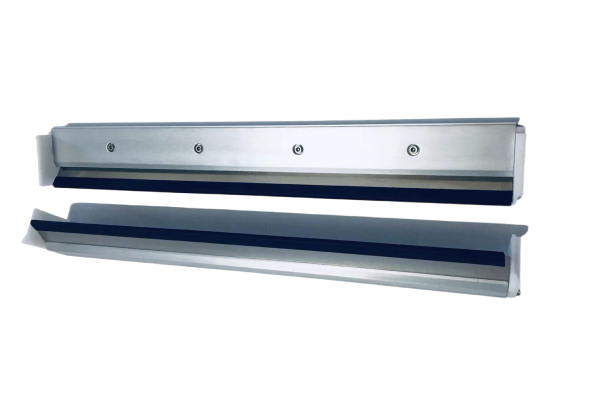
The choice of blade material significantly impacts print quality and performance:
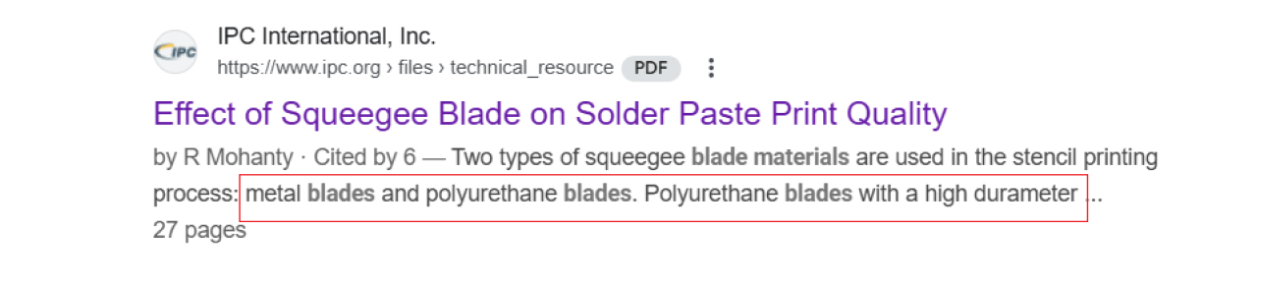
Choosing the right blade material depends on your printing needs, the type of materials you’re working with, and the level of precision required.
The durometer of the squeegee blade affects ink deposition and print quality:

The durometer is usually measured using a Shore A scale, where higher numbers indicate harder blades. For most MPM printers, the typical range for squeegee blades is between 60 to 90 Shore A.
Choosing the right durometer depends on the type of materials, paste viscosity, and the precision required for your printing process.
Different blade assembly types offer various benefits:
Choosing the right blade assembly type for an SMT printing machine depends on the printing process requirements, including precision, flexibility, and maintenance needs. MPM squeegee blades, for example, offer unique advantages for different production environments.
Proper blade angle and pressure settings are critical for optimal print quality:
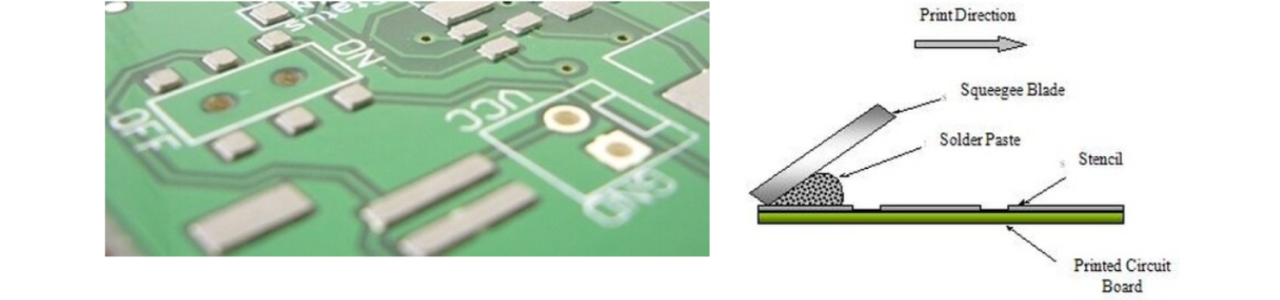
Key Considerations:
By carefully considering these factors, you can select the most appropriate MPM printer squeegees for your specific application, ensuring consistent, high-quality prints and optimal performance with your MPM 100 screen printer or any MPM printer machine.
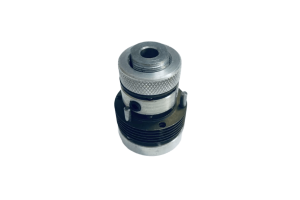
If you want to maintain your Printhead Left Stepper Assy in 2025 (and beyond), you need to follow proper care practices.
The question is:
How can you ensure your Printhead Left Stepper Assy stays in top condition without causing damage or wear?
Read this chapter to find out.
To ensure your MPM printer Printhead Left Stepper Assy stays in top condition without causing damage or wear, follow these maintenance tips for each of its key components:
By following these maintenance practices, you can help ensure that your Printhead Left Stepper Assy operates at peak efficiency, minimizing the risk of damage or wear and extending the life of your MPM printer, whether used in SMT printing or with an MPM screen printer.
No guide to maintaining MPM printer parts would be complete without understanding the importance of Module Center Control Interface Stepper Assy and Squeegee Z Assy.
These components are crucial for the precision and performance of your MPM printer. The Module Center Control Interface Stepper Assy ensures the accurate movement of the printhead, while the Squeegee Z Assy maintains the optimal blade height for consistent printing results.
Ensuring their proper maintenance and timely replacement is key to avoiding unnecessary downtime and keeping your printer in top condition. Regular checks and proper care can help you avoid costly repairs and ensure high-quality print outputs.
Now, let’s briefly discuss how to keep these parts in great working condition:
What It Is:
The Module Center Control Interface Stepper Assy is a crucial component in MPM printers, responsible for controlling and managing the stepper motor system within the printer. It ensures precise movement and coordination between various modules through stepper motor control, enabling the printer to operate smoothly and accurately.
What parts does it include:
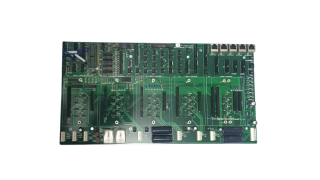
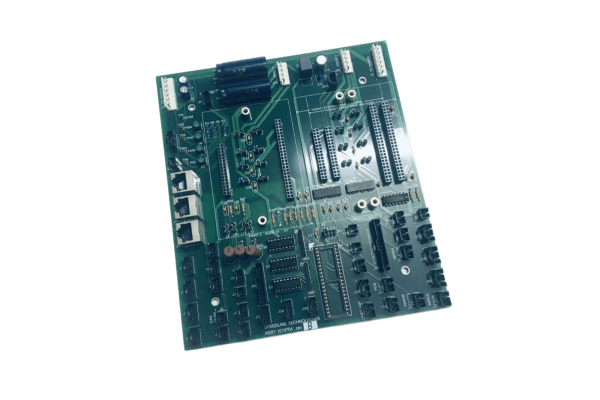
The module center control interface stepper assy includes several essential components: the 1019701 board, pc, center control interface, assy, which acts as the core control unit, managing communication and control between the printer’s various modules; the 2002257 board, pc, rear, control interface, assy, which ensures proper functioning and data transmission for the rear modules; and the 1014694 fan, enclosure exhaust assy, which helps regulate the system’s internal temperature by providing cooling, ensuring stable and optimal operation.
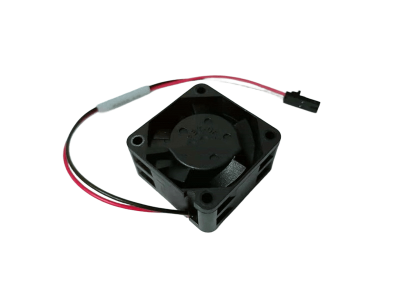
FAN ENCLOSURE EXHAUST ASSY
BOARD PC CENTER CONTROL INTERFACE ASSY
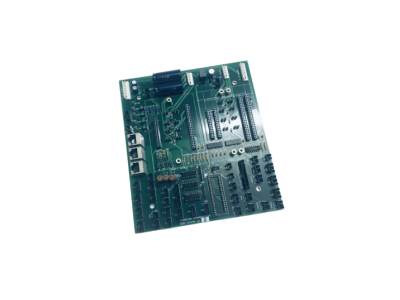
BOARD PC REAR CONTROL INTERFACE ASSY
MODULE STEPPER DRIVE W/FW VER/NODE ID/BIT RATE
Proper maintenance is essential for ensuring optimal performance in your MPM stencil printer and MPM printer SMT system. By following these maintenance tips, you can extend the lifespan of your Module Center Control Interface Stepper Assy and ensure consistent, reliable performance of your MPM printer.
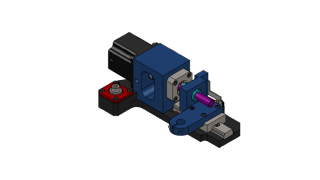
What It Is:
Squeegee Z Assy is a critical component used in SMT (Surface Mount Technology) printers, specifically within the squeegee system. It typically consists of several parts, including the squeegee itself, brackets, servo motors, stepper motors, and other mechanical components that control the squeegee’s movement. Its primary function is to control the squeegee’s precise angle and pressure during the printing process to evenly apply or wipe off solder paste, ensuring accurate printing results.
What parts does it include:
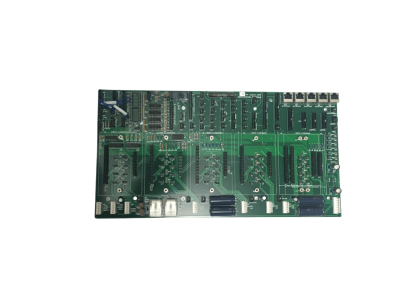
The Squeegee Z Assy includes several key components: the 1015792 board PC single control interface II assy, which manages the control signals; the 1014586 loadcell rear assy and 1017744 loadcell front assy, which ensure accurate force measurement; the 1016192 leadscrew 3/8 x 176.5mm RH assy for precise movement; the 2005755-01 and 2005755-02 stepper motors, which drive the squeegee’s front and rear movements; the P10411 cylinder 20mm bore 45mm stroke, providing mechanical actuation; and the P10866 coupling thru bore 1/4 shaft to 6mm shaft, which connects the motor to the mechanical parts. These components work together to ensure smooth, accurate squeegee operation in the printing process.
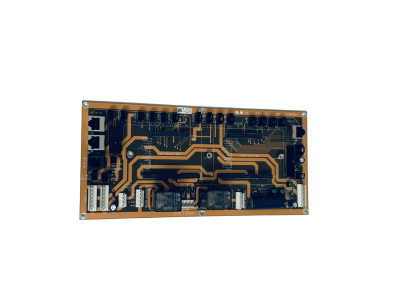
BOARD PC SINGLE CONTROL INTERFACE II ASSY
LEADSCREW 3/8 X 176.5MM RH ASSY
MOTOR STEPPER SQUEEGEE Z FRONT ASSY
LOADCELL REAR ASSY
Maintenance Tips:
By following these maintenance practices for your MPM Momentum II and MPM Momentum, you can extend the lifespan of the Squeegee Z Assy and maintain its efficiency in the printing process, ensuring optimal performance of your MPM printer.
No intro needed for this chapter.
Here are 3 of my battle-tested methods for explaining and optimizing Axis Xyy and Lift Table Stepper Assy:
Step 1: Understand the Function of the XYY Axis
The XYY axis system is a multi-axis positioning system commonly found in printers, responsible for precise movement and positioning of the printhead in the X, Y, and Z directions. In MPM printers, the X and Y axes typically control horizontal and vertical movements of the printhead, while the Z axis controls the lift table. Precise control of these axes ensures accurate printing with each pass.
Step 2: Understand the Role of Stepper Motors
Stepper motors drive the movement of the XYY axes. Each motor moves in precise steps, allowing for accurate control down to micron-level adjustments. The synchronized operation of the XYY axes and the lift table stepper assembly is essential for ensuring high-quality printing.
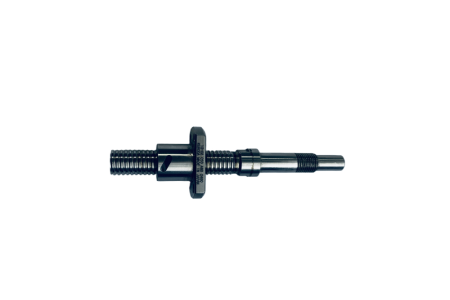
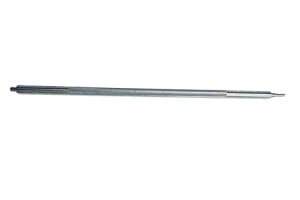
BALLSCREW 12MM X 116MM 2MM RH W/NUT
MOTOR ROTORY STEPPER 3.0N.M 6.0A 3 STACK ASSY
COUPLING DISC 8MM X 1/4 X 35.4MM ALUMINUM
Step 1: Initial Calibration
Before starting the machine, initial calibration of the XYY axes and the lift table must be done. First, check the integrity of the mechanical components to ensure no loose or damaged parts. Then, input calibration values (such as printhead height and X/Y axis zero points) into the control panel.
Step 2: Adjust Stepper Motors and Drive System
Once calibrated, fine-tune the stepper motors (6410-001-N-N-N) for proper speed and precision, ensuring they synchronize with the printer’s other components. Use the control software to test the movement of the printhead and lift table to ensure they follow the correct paths.
Step 3: Fine-tuning Print Precision
After calibration, print sample patterns to test the precision of the XYY axes and lift table. Adjust the stepper motor settings and positions if necessary to improve print accuracy.
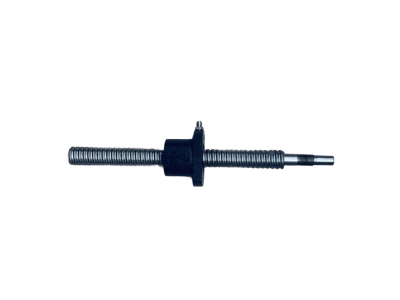
BALLSCREW Z AXIS (1014608)
MOTOR ROTORY STEPPER 4.5N.M 8.6A 2 SHAFT ASSSY
COUPLING BELLOWS 10MM X 1/2 X 40MM ALUMINUM
CYLINDER AIR D ACTING 16MM X 30MM
Step 1: Regular Cleaning and Inspection
Regularly clean the XYY axis system and lift table components, especially the bearings and lead screws, to prevent dust or debris buildup. Check the stepper motors and connections for wear or damage.
Step 2: Lubrication and Parts Replacement
Lubricate the moving parts appropriately to prevent excessive wear. Parts like lead screws, bearings, and couplings need proper lubrication to ensure smooth operation and prevent performance issues.
Step 3: Monitor System Performance
Continuously monitor the performance of the XYY axes and lift table, checking for irregular movements or mechanical issues. Use diagnostic tools to assess the stepper motors’ current, voltage, and temperature to prevent overheating or failure.
Step 4: Optimize Adjustments
Based on print requirements, optimize the range and speed of the XYY axes and lift table. For high-precision printing tasks, you may need to reduce speed for enhanced accuracy.
By following these step-by-step practices for your MPM Momentum screen printer and MPM Momentum manual, you can ensure that your XYY axis system and lift table stepper assembly stay in peak condition, extending the lifespan of the parts and maintaining consistent print quality with your MPM printer.
MPM Printer Wiper Stencil Assembly is a crucial component in maintaining print quality and efficiency for MPM stencil printers.
This guide will provide essential information on its usage and importance.
MPM Printer Wiper Stencil Assembly includes several critical components:
ROLLER SOLVENT APPLICATION

ARBOR PAPER DRIVE ASSY (1014306)
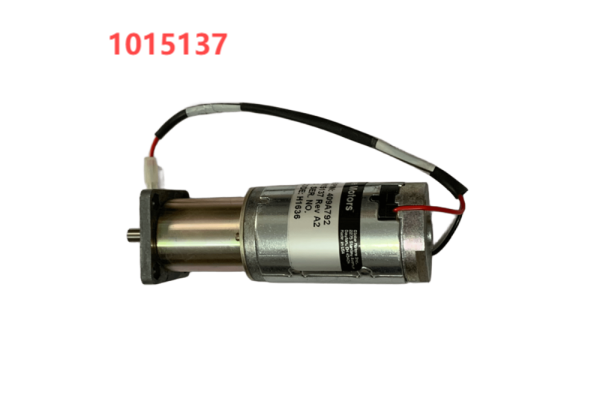
MOTOR SOLVENT ROLLER ASSY (1015137)
MOTOR PAPER WINDER ASSY (1015802)
CYLINDER DBL ACTING 16MM BORE 10MM STROKE
COUPLING FLEX 10-10 BORE ZERO BACKLASH
CLUTCH ADJUSTABLE SLIP 8MM
COUPLING SOLVENT MOTOR &ROLLOR WIPER

MOTOR,PAPER WINDER ASSY
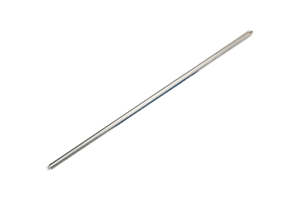
SHAFT WIPER IDLER ENCODER
These components work together to ensure consistent cleaning performance and minimize maintenance interruptions.
To ensure your MPM Printer Wiper Stencil Assembly performs at its best:
1. Replace Wear Items Regularly
Key parts like cleaning rolls and vacuum seals wear down over time. Regular replacement ensures consistent cleaning and prevents downtime.
2. Monitor Cleaning Material Status
Use the automated detection system to keep track of cleaning materials. This helps identify when replacements are needed, avoiding potential print quality issues.
3. Follow Maintenance Schedules
Stick to the recommended maintenance intervals. Regular checkups and part servicing help maintain peak performance and reduce unexpected breakdowns.
4. Keep Spare Parts in Stock
Ensure you have essential spare parts on hand for quick replacements. This minimizes downtime and ensures your printer is always ready to go.
By following these simple steps for SMT printing and using a Speedline MPM printer, you can maximize the efficiency and lifespan of your MPM printer, keeping your operations smooth and your print quality top-notch.
The wiper stencil assembly plays a crucial role in ensuring high print quality by:
1. Maintaining Consistent Aperture Clearance
It ensures that the stencil openings remain clear, allowing for precise and consistent paste deposition.
2. Preventing Contamination Buildup
Regular cleaning helps prevent paste and debris accumulation, which can cause defects or inconsistencies in the print process.
3. Ensuring Thorough Stencil Cleaning
The assembly provides effective cleaning between print cycles, removing excess solder paste and ensuring clean stencils for each new print, reducing the risk of defects.
By maintaining these factors, the wiper stencil assembly helps produce high-quality prints with minimal errors, improving the overall efficiency of the printing process.
MPM Printer Wiper Stencil Assembly is a critical component in maintaining high-quality stencil printing results. By understanding its features and following proper maintenance procedures, manufacturers can optimize their printing process, reduce downtime, and ensure consistent, high-quality output.
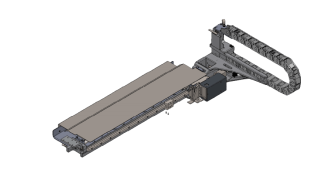
Here’s a quick list of essential components for the front fixed rail assembly and rear moving rail assembly for MPM printer.
These parts play a critical role in ensuring the smooth operation and stability of the printer during its printing processes.
The front fixed rail is designed to securely hold the PCB at the beginning of the printing cycle. This stationary rail provides stability and guides the PCB into the correct position for the printing process. It prevents any lateral movement or misalignment, which could lead to printing errors.

SHAFT IDLER PULLEY
BELT TRANSPORT SINGLE TRACK
CLAMP FOIL 20 DEGREE
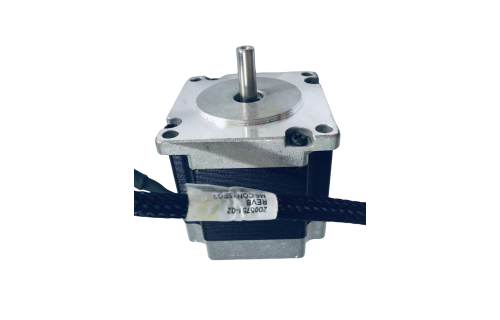
MOTOR ROTORY STEPPER STACK ASSY
SUPPORT BOARD

RAIL ASSY WITH PIN
The rear movable rail supports the PCB at the rear end and is designed to adjust as the PCB moves through the printing cycle. This adjustable component ensures that the PCB remains properly aligned and securely in place while transitioning between various printing stages. Its flexibility is crucial for accommodating different PCB sizes and shapes.
The part numbers 2001398, 2001397, and 1015390 are related to MPM Printer Rail sensors. These sensors play a crucial role in detecting the position of the PCB within the printer’s rail system, ensuring accurate alignment and smooth operation.
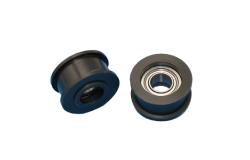
PULLEY IDLER ASSY
BEARING LINEAR WAY (P7214)
CYLINDER AIR D-ACTING (1015454)
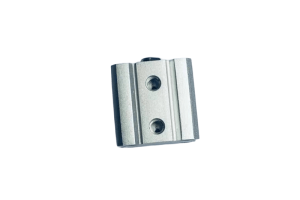
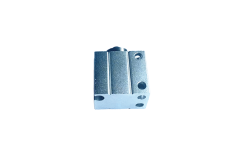
MOUNT BOARD CLAMP
GUIDE PLATE CENTER RAIL CONVEYOR
SPRING TENSION ASSY
Both the Rail Front Fixed Assy and Rail Rear Movable Assy are essential for the smooth operation of MPM printer, ensuring that PCBs are transported efficiently and accurately throughout the printing process.
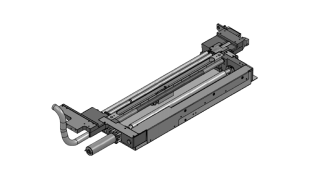
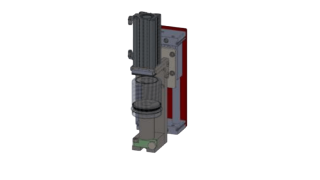
The Gantry Vision Servo BTB Assy in MPM printers is a crucial assembly that ensures the precise movement, positioning, and operation of the printer. The following is a detailed introduction to the main components of this assembly:
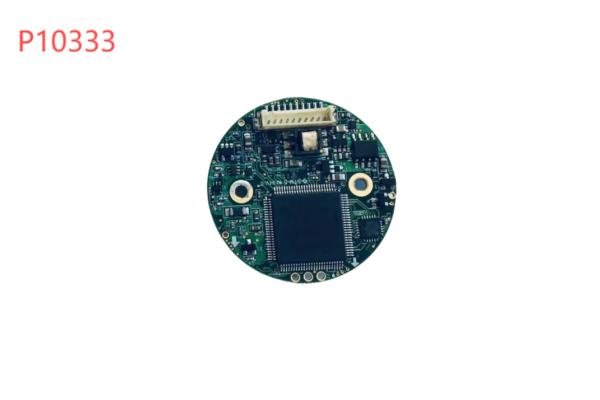
ITW EAE BALLSCREW, VISION X, 15MM DIA, 10MM LEAD (Part No. 1014605, P10333)
This ballscrew is used for precise control of the Vision X-axis movement, ensuring high accuracy in the X-axis direction. Its 15mm diameter and 10mm lead provide stable motion and high load capacity.
MOTOR, ROTARY STEPPER, 3.0N.M, 6.0A, 3 STACK, ASSY (Part No. 2005758)
This rotary stepper motor provides 3.0N·m of torque and 6.0A of current, with a 3-stack design to deliver efficient drive. It is critical for precise position control and high-speed movement.
COUPLING, DISC, 10MM X 3/8 X 45.5MM, ALUMINUM (Part No. P10587)
This aluminum disc coupling connects the ballscrew and the motor, ensuring gap-free power transmission for improved stability and accuracy.
BRACKET, COIL PICK-UP (Part No. 1014350)
This bracket is used to mount the coil pick-up system, which is essential for accurate pick-and-place operations in the printer.
PLATE, CYLINDER, TOOLING (Part No. 1014351)
This plate works with the cylinder to secure tooling and ensure precise positioning and stable operation.
HARDSTOP, BLANK (Part No. 1014686)
The hardstop is used to limit the movement range, preventing components from exceeding their designated path, ensuring safety during operation.
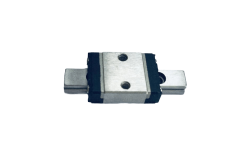
BEARING, LINEAR, 7MM X 5MM, 1 CAR (Part No. P10237)
This linear bearing ensures smooth movement of the system, reducing friction and enhancing precision.
CYLINDER, DBL ACT, 12MM (Part No. P10088)
The double-acting cylinder (12mm size) is used for various mechanical actions such as pushing, pulling, and positioning, providing reliable motion support.
MPM Printer Gantry Vision Servo BTB Assy is a critical assembly for ensuring the precise and efficient operation of the printer. Each component plays a vital role, such as the ballscrew and stepper motor providing precise drive, the coupling ensuring smooth connection, and the cylinders, bracket, and bearing ensuring stable movement and accurate operation. Regular maintenance and inspection of these components will help extend the lifespan of the equipment and maintain high print quality.
The Single Jar Dispenser on the MPM Momentum printer is front-mounted for easy serviceability. It attaches to the linear bearing on the front edge of the carriage, similar to traditional dispensers. This feature works with both the Single Jar system and conventional squeegee blades, offering flexibility in operation.
Travel Dimension for Single Jar in X: 20 inches (50.8 cm)
Dispense Area for Single Jar: 20 inches x 20 inches (50.8 cm x 50.8 cm)
Working Air Pressure: 90 PSI (6.2 Bar)
Pressure Regulator Setting: 0.3 MPa to 0.5 MPa (43.5 PSI to 72.5 PSI)
Dispense Media (Material) Capacity: One 500-gram Jar
MPM printer stands as a reliable and efficient solution for high-precision printing needs in the SMT (Surface Mount Technology) industry. With advanced features, customizable components, and consistent performance, it is a preferred choice for many professionals. Whether you’re looking to optimize your workflow, improve print quality, or ensure long-term machine reliability, understanding the key components and maintenance practices for your MPM printer is crucial. By following best practices and investing in quality parts and servicing, you can maximize the lifespan and efficiency of your equipment.

We're like the Wi-Fi to your production line – always reliable, never dropping the connection.
© 2024 SPS Co., Limited All rights reserved.

Struggling with:
⏱ Frequent Downtime?
💸 High Maintenance Costs?
🤝 Lack of Reliable Support?
We’ve Got You Covered!
✔ Genuine, durable parts
✔ Expert support with 15+ years of experience
✔ Fast delivery, ready to ship
Request our expert services today to optimize your production line with top-quality SMT placement solutions, fast support, and reliable results!

With 15 years of experience, we provide reliable second-hand Panasonic machines, original parts, and expert support to help you improve efficiency and reduce costs.
Request our expert services today to optimize your production line with top-quality SMT placement solutions, fast support, and reliable results!
Looking for reliable SMT placement machines and parts?
We offer genuine parts and high-quality second-hand equipment from top brands like Panasonic, Yamaha, Juki, and Fuji.
✅ 15 years of industry expertise with a professional support team
✅ Extensive stock to meet your production needs
✅ Worry-free after-sales service to ensure seamless operations
Request our expert services today to optimize your production line with top-quality SMT placement solutions, fast support, and reliable results!
Request our expert services today to optimize your production line with top-quality SMT placement solutions, fast support, and reliable results!
 Optimized by Seraphinite Accelerator